There are four steps to creating a digital story, which we describe below. For further details, please see our resources pack.
Step 1: Mapping
Create a mind map about the child: what they like, enjoy, dislike, and the things they find more challenging. Talk to parents and staff to gather a range of views. If the child is able to communicate their views, theirs should be the dominant voice.
Independence and agency: What does the child choose to do for themselves? 
Objects and interests: What is the child really interested in and like doing? 
People and interactions: How do children like to spend their time, and who do they interact with? 
Skills and capabilities: What is the child good at? 
Support: What behaviours show where the child needs support? 
Communication and expression: In what ways does the child express themselves? 
Spaces: Where does the child like to be or explore?
Step 2: Filming
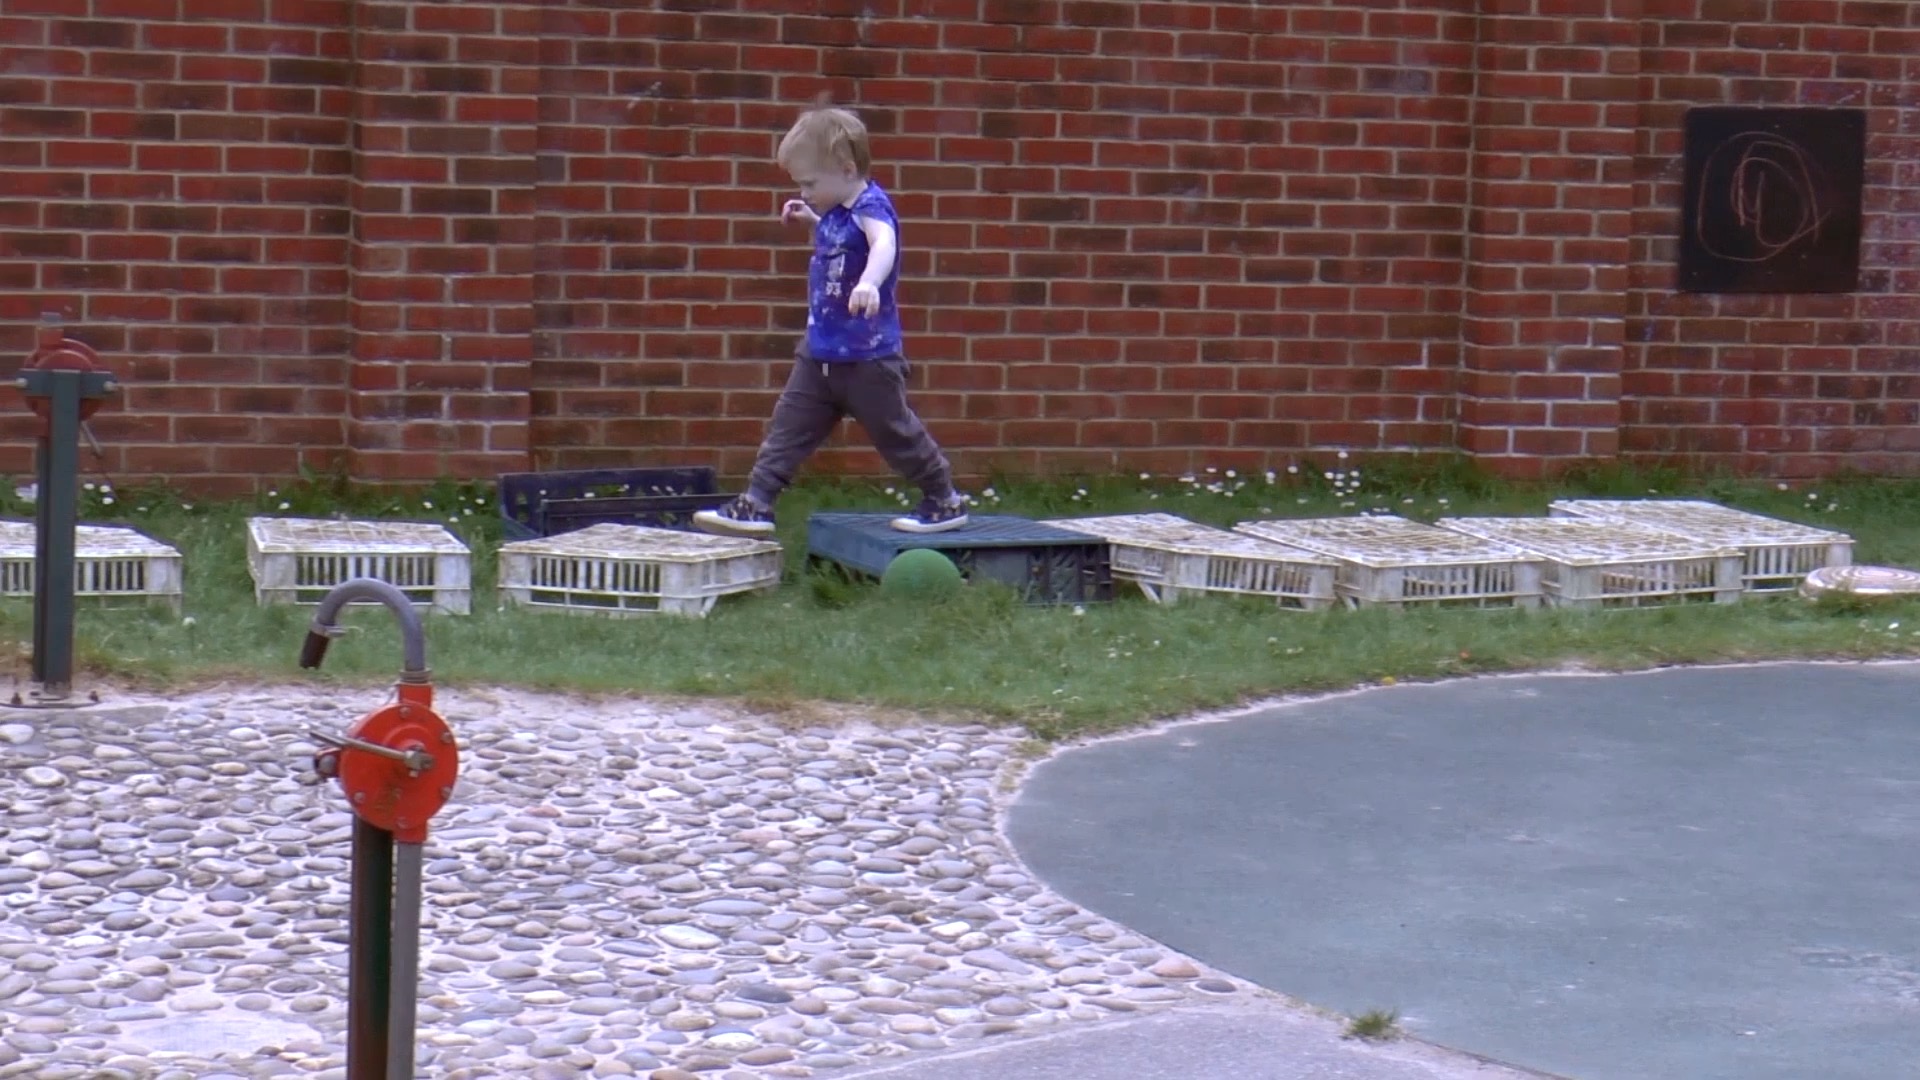
Using the ACoRNS digital stories “I am..” framework, plan where you will take your videos. The focus is on environments and activities that are meaningful for the child. Once planned, take some video clips of the child over a few weeks or months using small wearcams, a video camera, or a tablet PC.
It’s best to try and keep clips short (30 secs – 2 mins), as this will make it easier to find the shots you want to include when editing. Longer clips may also be too large to upload to web-based video editing platforms.
Store video footage securely, ideally on a password protected device.
Step 3: Describing
Use the mind map and the video footage to describe the child in short statements from their point of view based on the digital Stories ‘I am…’ framework. Your story should try to capture the child’s perspective, using “I am” phrases like the one shown in our example stories.
Step 4: Editing
Use the ‘I am…’ descriptions to select video clips that best show the characteristics or behaviours of the child. Write a plan for which clips you want to use for each “I am” phrase, including which files each clip is in and the start and end times of the clip. Try to present the views and perspective of the child as meaningfully as possible.